
Hello friends!
I got my paints (well, actually my INKS!) out again today for some more watercoloring. I love playing around with different types of mediums for watercolor: sprays, ink pads, pans, my peerless papers, watercolor pencils… Each one gives unique results!
Today I decided to use my Altenew dye inks to watercolor a gorgeous group of tulips. I started by stamping various images from the Exotic Tulips stamp set. I used only the outline images – 2 blooms and a bud – so I could color them in. I stamped and hand cut masks from full stick post-its as needed to create my scene. I stamped all the images in Versamark onto watercolor paper and then heat embossed them with white embossing powder.

After stamping the blooms, I added some outline leaves below using the same process and embossing all the images. It’s hard to catch on camera because it is white on white, but hopefully you can see it below.

You may notice that my flowers have no stems to hold them up. hmmm… I did not have outline stems to stamp so I used my versa marker pen to draw them in and heat emboss them to be consistent with my stamping. This is a super handy marker for touch ups or any time you need to add some custom embossing. My marker lines end up a little thicker than the stamped ones, which was not perfect, but I just went with it. Can you see my stems below?

Now it’s time for the fun part – watercoloring!
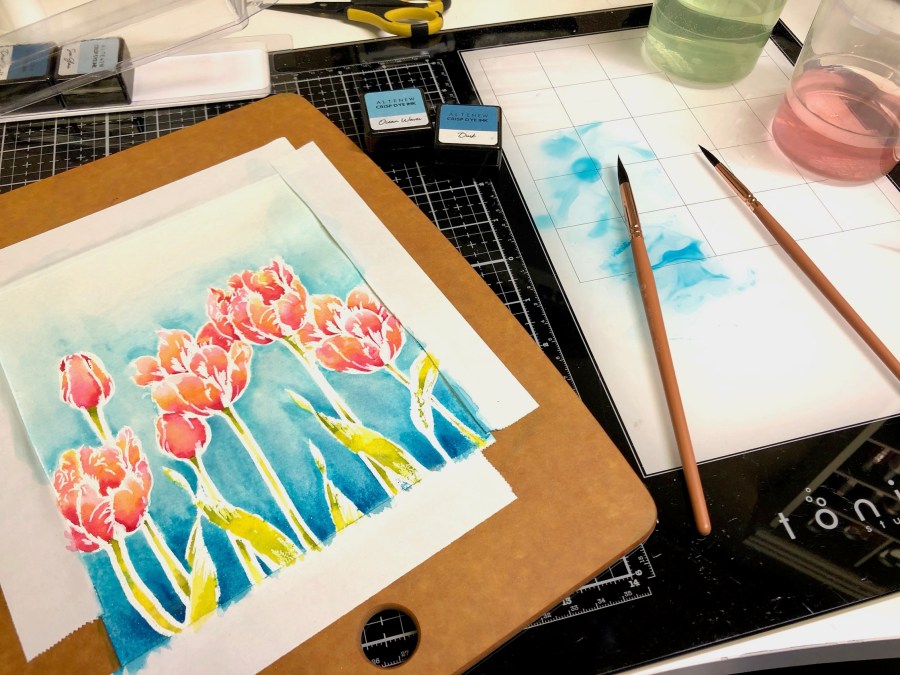
I used three colors for my flowers and did them all with the same technique. I smooshed some ink onto my glass mat and painted with my Wonder Forest paintbrush and a little clean water. I used a wet on wet technique, painting clean water onto an individual petal then dotting some Coral Berry ink at the base of the petal and letting it blend and bleed up toward the top.
As the petal started to dry, I also dotted in a bit of diluted Warm Sunshine ink to add some variation in color. As a final touch I dotted a tiny bit of Ruby Red at the very bottom of each petal or where they overlapped to create shadows. I painted each petal individually and did not paint adjacent petals until they dried so that they wouldn’t bleed together.

I used the same technique to paint my stems and leaves, using Olive and Moss inks and even some touches of the Warm Sunshine. Here is how my panel looked when got done with my flowers.


I loved the look of these painted flowers, but I thought they would pop even more if I painted in a contrasting background which would make my white embossing stand out even better. I painted a wash of blue in the background that is lightest at the top of the page and deepest toward the bottom. I used Ocean Wave and Dusk inks.

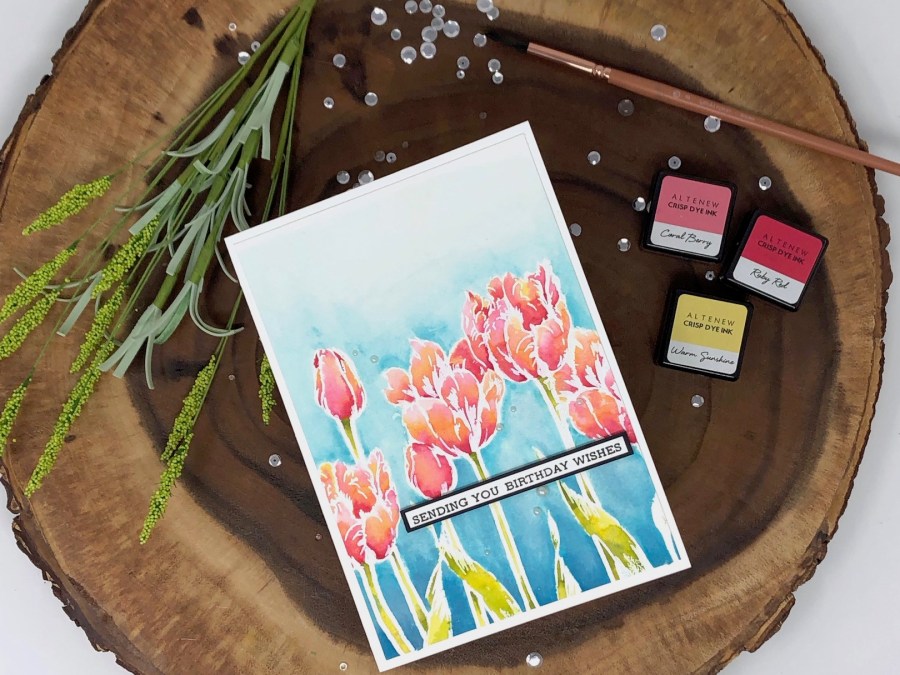
This was a larger panel and I hated to cut too much off of it, so I trimmed it only slightly to be4.75 x 6.75″ and mounted it on a 5×7″ card base. I popped up a sentiment from the Sentiment Strips set that I stamped with Obsidian black ink onto white cardstock and then matted with black cardstock. All I needed to finish off the card was a few tiny pearls so I could let the beautiful watercolored tulips be the star of the show.


Thanks for stopping by! If you are interested in any of the tools or products used for this project, check out the supply list below.
DISCLAIMER:
If you are interested in any of the products used in this project, check out the links below. Some of the links may be through an affiliate program which may earn me a small commission at no cost to you.

Xo,
Tricia
This is a beautiful card, Tricia! Love the addition of blue in the background and the two-tine flowers.
Thank you for submitting your work to the AECP assignment gallery.
You had me at tulips!! So happy to meet another crafty card-making Michigander, Tricia!!
Your card is gorgeous, and you’ve used one of my own favorite tulip/Altenew sets … though I will admit, when it comes to water coloring I’ve not tried their inks! Something to keep in mind – the colors are so beautiful!
Thanks so much for the invitation!
=]